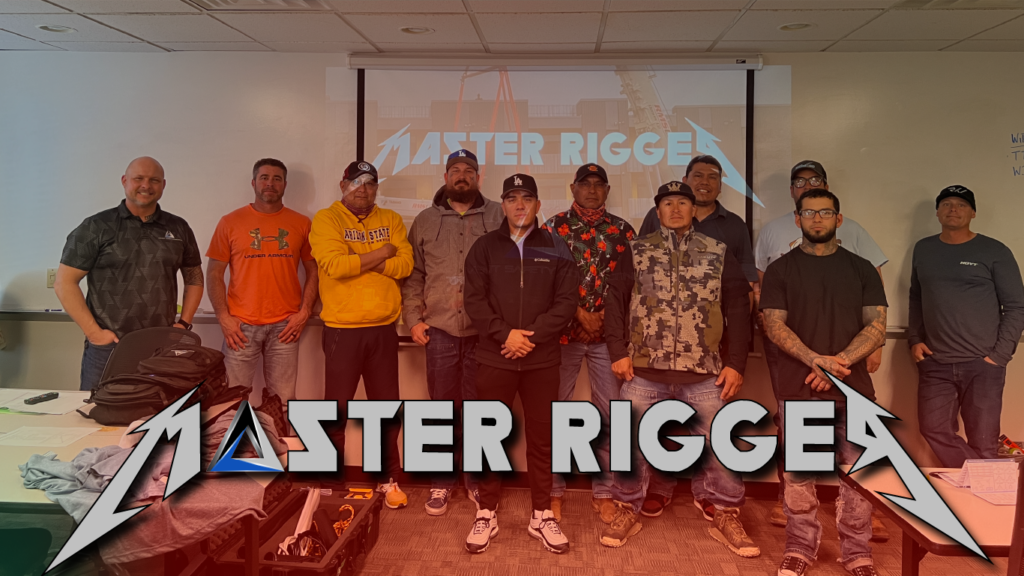
In today’s diverse workplace, effective safety training is essential. With the OSHA Hazard Communication Standard at the forefront, ensuring that all employees understand safety protocols is crucial for a healthy work environment. But what happens when language barriers stand in the way? At Trivent Safety Consulting, we recognize this challenge and have developed tailored solutions to meet the needs of Spanish-speaking workers. Our commitment to high-quality communication and training sets us apart as a leader in providing exceptional safety education. Discover how our approach makes a difference in promoting safer workplaces while embracing diversity through expert Spanish training programs.
The Impact of OSHA Guidelines on Safety Training
OSHA guidelines play a critical role in shaping safety training across various industries. By establishing clear standards for hazard communication, they ensure that workers are informed about the dangers they may encounter on the job. This proactive approach not only promotes a safer work environment but also empowers employees to take ownership of their well-being.
When organizations align their safety training with OSHA regulations, they foster a culture of safety that resonates throughout the workplace. Employees feel more confident and prepared to handle potential risks when trained effectively according to these established guidelines.
Moreover, compliance with OSHA standards can significantly reduce incidents and accidents at work. It encourages employers to invest in comprehensive training programs that keep everyone informed and engaged—ultimately leading to better performance and productivity within teams.
Trivent Safety Consulting’s Approach to Spanish Training
Trivent Safety Consulting recognizes the importance of effective communication in safety training, especially for Spanish-speaking workers. Our approach focuses on creating a comfortable learning environment where participants feel empowered to engage and ask questions. We understand that language barriers can hinder understanding, so we prioritize clarity in all our materials.

Our tailored programs ensure that course content resonates with the specific needs of Spanish-speaking teams. By integrating relevant examples and scenarios, we enhance comprehension while keeping learners engaged. This makes safety concepts accessible and relatable.
Moreover, our instructors are not only fluent in Spanish but also experienced in conveying critical safety principles effectively. They bring practical knowledge to each session, ensuring that participants grasp OSHA standards thoroughly while fostering an interactive atmosphere.
Tailored Spanish Training Programs
At Trivent Safety Consulting, we understand that effective safety training must resonate with learners. Our tailored Spanish training programs are designed to meet the unique needs of diverse workplaces. We offer a variety of courses that cater specifically to industries requiring OSHA compliance.
Each program is crafted by experts who recognize the importance of cultural relevance and language nuances. This ensures that participants not only comprehend the material but also engage actively in their learning process. By focusing on real-world applications, we help workers relate safety practices to their daily tasks.
Moreover, our courses are flexible and customizable. Whether you need on-site training or virtual sessions, we adapt our methods to fit your team’s dynamics. This personalized approach maximizes understanding and retention while maintaining adherence to OSHA guidelines for safety communication.
Experienced Instructors in Spanish Safety Training

At Trivent Safety Consulting, our team of experienced instructors brings a wealth of knowledge to Spanish safety training. They possess not only the required certifications but also extensive field experience in various industries. This combination ensures that participants receive practical and relevant information.
Our instructors are fluent in both English and Spanish, enabling seamless communication during training sessions. This fluency enhances understanding and retention of crucial safety concepts related to the OSHA guidelines. Participants can ask questions freely, fostering an interactive learning environment.
Moreover, our trainers stay updated on the latest regulations and best practices regarding safety protocols. Their commitment to continuous education means they provide current insights tailored for diverse workplaces. With this expertise, learners gain confidence in applying what they’ve learned directly to their jobs.
Resources Available for Spanish Training
Trivent Safety Consulting offers a wide range of resources tailored specifically for Spanish safety training. These include comprehensive manuals, interactive e-learning modules, and informative videos that cater to various learning styles. By utilizing engaging content, we ensure participants grasp critical safety concepts effectively.
Additionally, our materials are updated regularly to reflect the latest OSHA guidelines and best practices in workplace safety. This commitment guarantees that Spanish-speaking employees receive relevant information aligned with current standards.
We also provide access to webinars and workshops conducted entirely in Spanish. These sessions encourage active participation and foster an environment where learners can ask questions freely. With such diverse resources at their disposal, organizations can enhance the effectiveness of their safety training programs significantly.
Benefits of Choosing Trivent Safety Consulting
Choosing Trivent Safety Consulting for your Spanish training needs offers a multitude of advantages. First and foremost, our tailored programs ensure that every learner receives relevant information that resonates with their specific work environment. This customization fosters better understanding and retention of essential safety practices.
Our experienced instructors bring not only extensive knowledge but also cultural competence to the classroom, making sessions more relatable and effective. They understand the nuances of communication in different contexts, ensuring clarity throughout the training process.
Additionally, we provide an array of resources designed specifically for Spanish speakers. These include manuals, videos, and interactive tools that enhance learning outcomes while promoting a safe working culture in compliance with OSHA guidelines.
When you choose Trivent Safety Consulting, you’re investing in quality education that prioritizes safety above all else. Our commitment to excellence means your team will be well-equipped to navigate OSHA standards confidently and effectively.
- Call or sign up today! 800-819-6092 or click here.


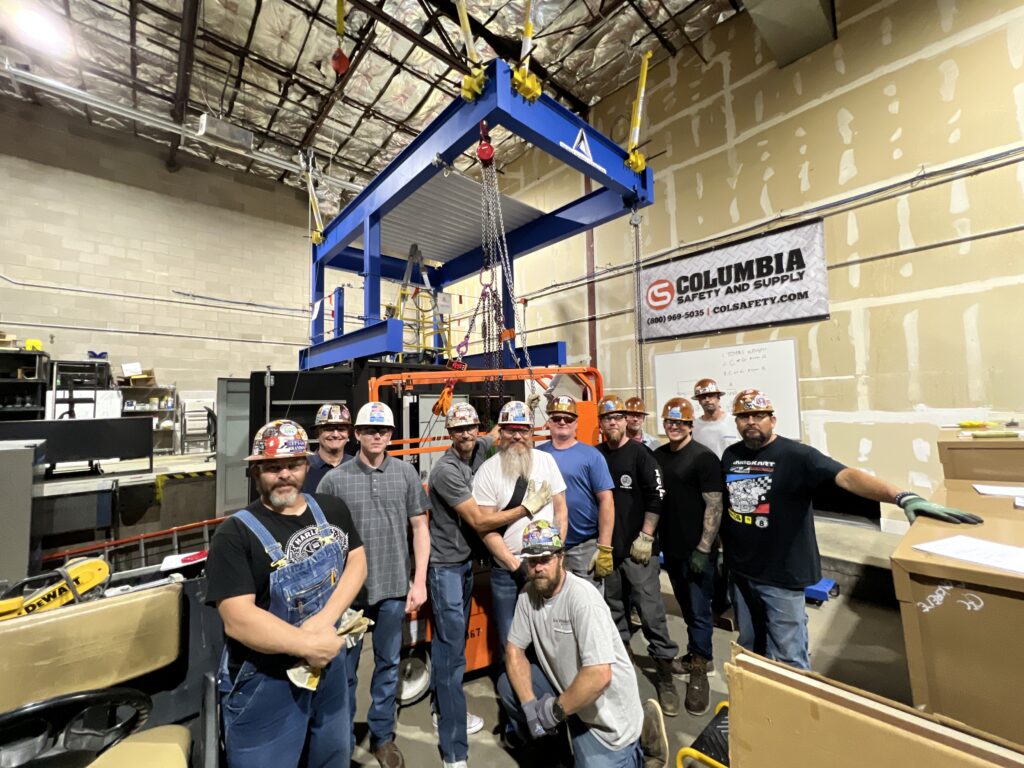
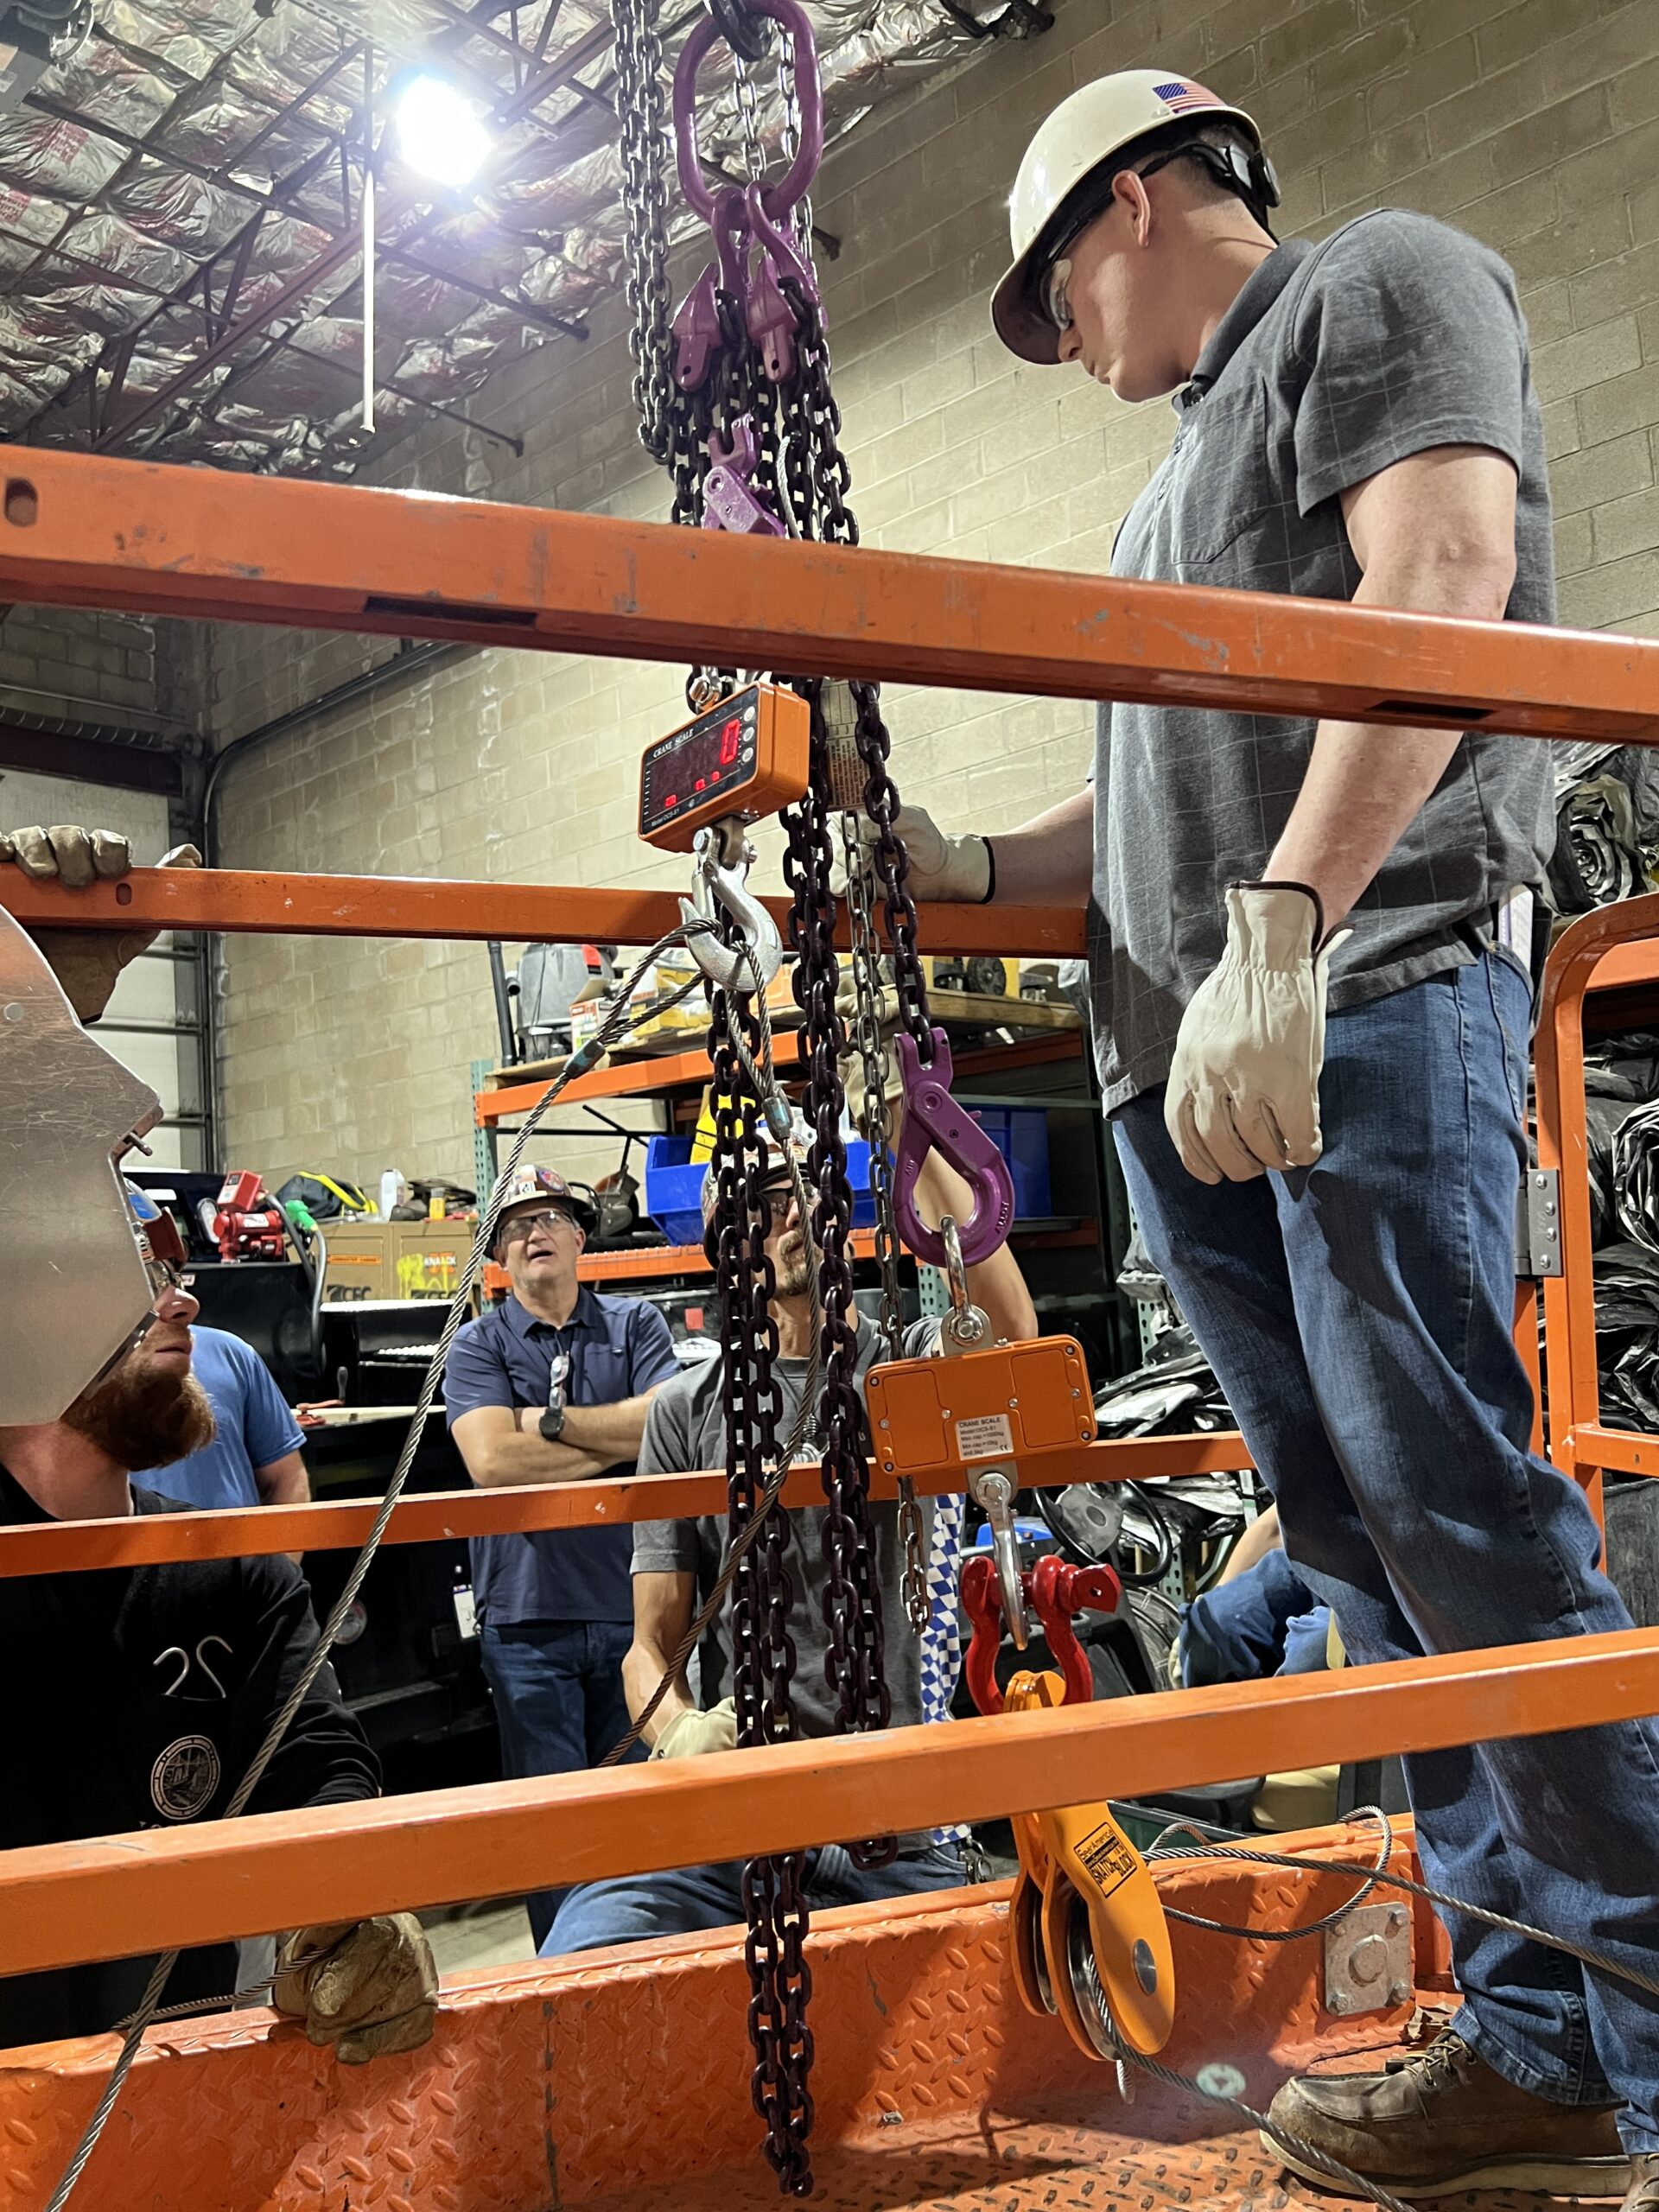
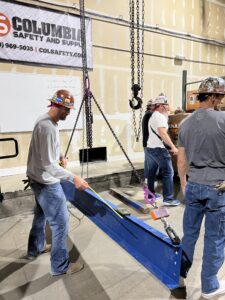
 Confined spaces present unique challenges and hazards that can turn routine tasks into life-threatening situations. Whether it’s a storage tank, a tunnel, or a manhole, working in these environments requires specialized training to ensure safety. The stakes are high—one misstep can have serious consequences. That’s where proper
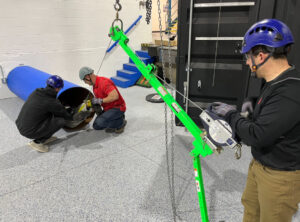


 These topics include: